
There are two easy ways you can use to bring your Power Apps canvas applications as tabs within your Team’s Channels. I’ll shortly introduce them both and discuss some pros and cons of each. Then I will show you how you can bring Planner Gantt Chart as a tab in your Teams channel and define a specific plan to be displayed by default.
Create a Power Apps tab
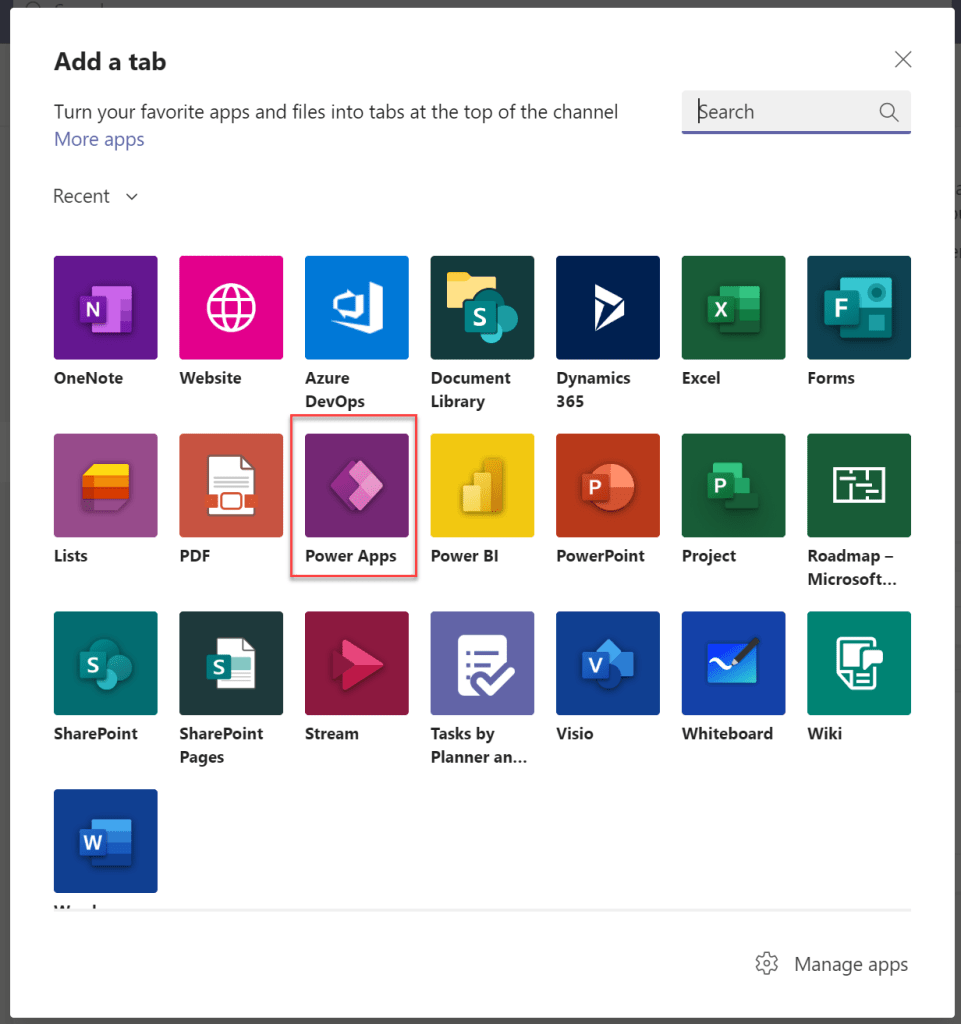
The simplest way is to use the built-in Power Apps app to add the tab. Simply click on the new tab plus icon next the rightmost tab in the desired channel.

Then select Power Apps app from the list.
Click on the Add button.
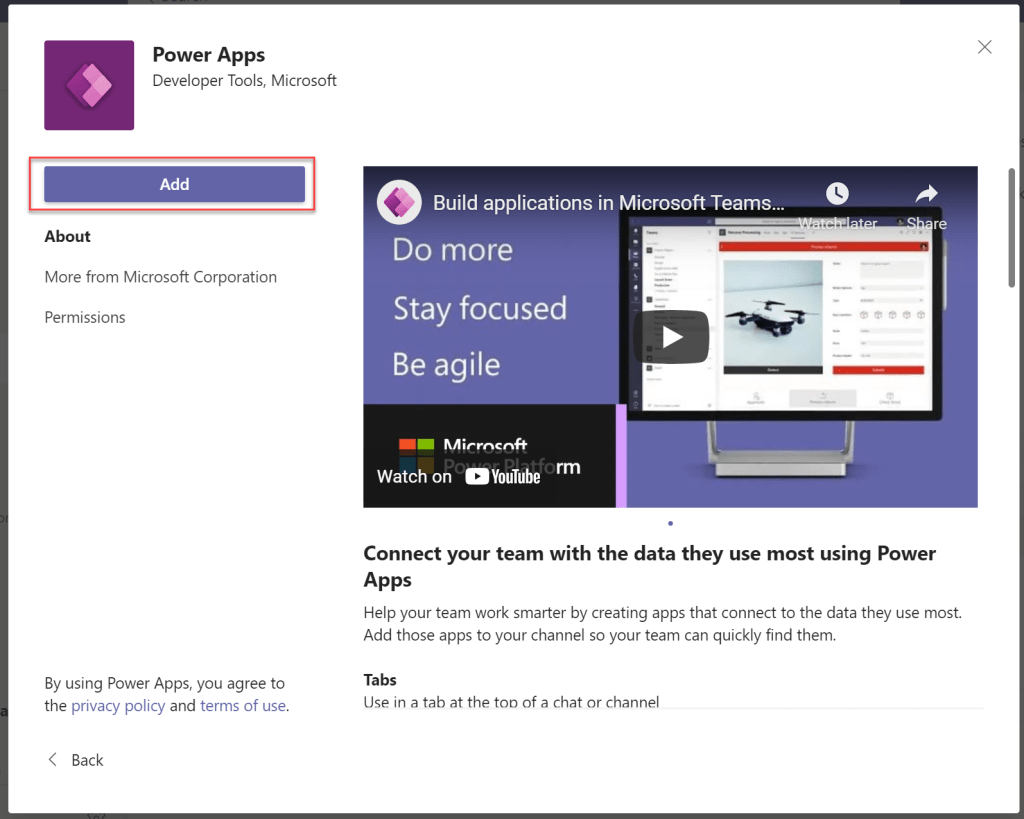
Then choose the desired app in the search dialog. You can search the app by its name and you can also filter the list by category. The default category is My apps, which usually is the one you want.

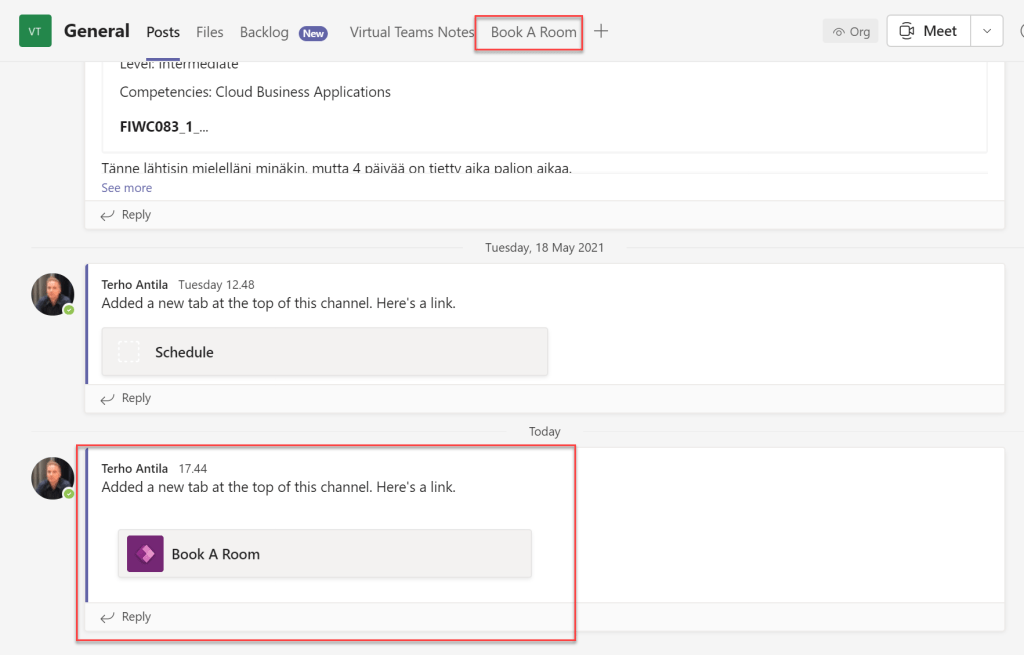
Post to the channel about this tab checkbox is checked by default, this will post a message on the channel about the new tab. Finally, click Save.
Use a Website tab
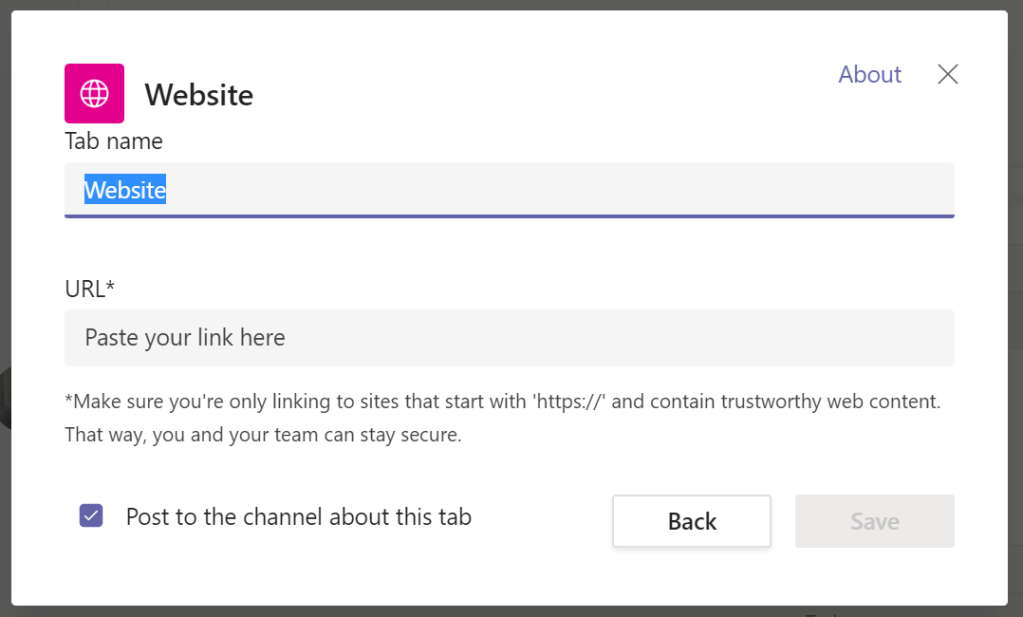
Another method is to use a website tab.

This allows you to use any web site as the contents of your new tab. You just need to copy-paste the link of the desired website in the URL field.
Since we want to embed a Power Apps canvas app, we need to find the URL of the specific app. This is easy:
- Go to https://make.powerapps.com/
- Choose Apps page on the left
- Click open the context menu of the desired app behind the three dots icon
- Select Details

You are now presented with a Details page of the app. The link below the Web link title is what you want.

Copy that link and paste it as the URL in the Website dialog when adding the tab and you are done!
Pros and Cons
Obvious benefit of the first method is, that you don’t have to go away from the Teams client and find out the URL of the Power App you want to embed. So it is super easy to add Power Apps tabs this way!
Another benefit is, that the tab automaticlly extracts unnecessary stuff away from the display area, such as the Power Apps header. In contrast to the second method, where you’ll end up with header as displayed below eating up unnecessary space.

Also the gray information box saying “If your site isn’t loading correctly, click here” is a bit annoying…
The unbeatable benefit of the second method, however, is that you can provide URL parameters to the app. You can’t do this when you are using Power Apps app to add the tab – you must add the app as a Website tab. But with this, you can then define some parameters that the app can read. One of the parameters that all Power Apps know how to utilize is the hidenavbar parameter.

Tabify your Planner Gantt Chart!
If you want to embed your Planner Gantt Chart app as a tab in Teams, and you want one plan preselected by default, you should use a Website tab. This allows you to provide URL parameters to the app and one parameter Planner Gantt Chart app supports is plan. If you provide desired plan’s id as plan parameter value, the app displays that plan directly without prompting user to select a plan.
You can acquire plan’s id by opening the plan in a browser and then copying the planId URL paramater as indicated below:

Then just simply use that to provide the plan parameter to your tab:
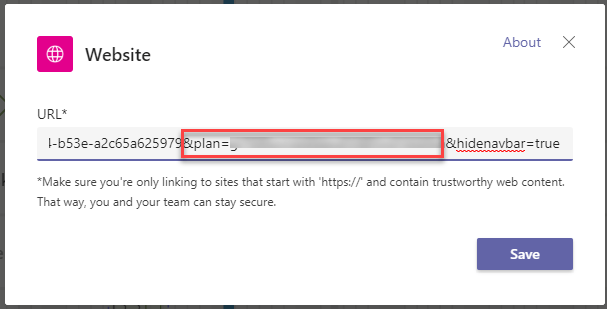
Note, that I precede the parameter with an ampersand to separate it from the previous URL parameter value (which in my case is tenantId). If you don’t have preceding URL parameters in your app URL, you should replace the ampersand with a question mark.
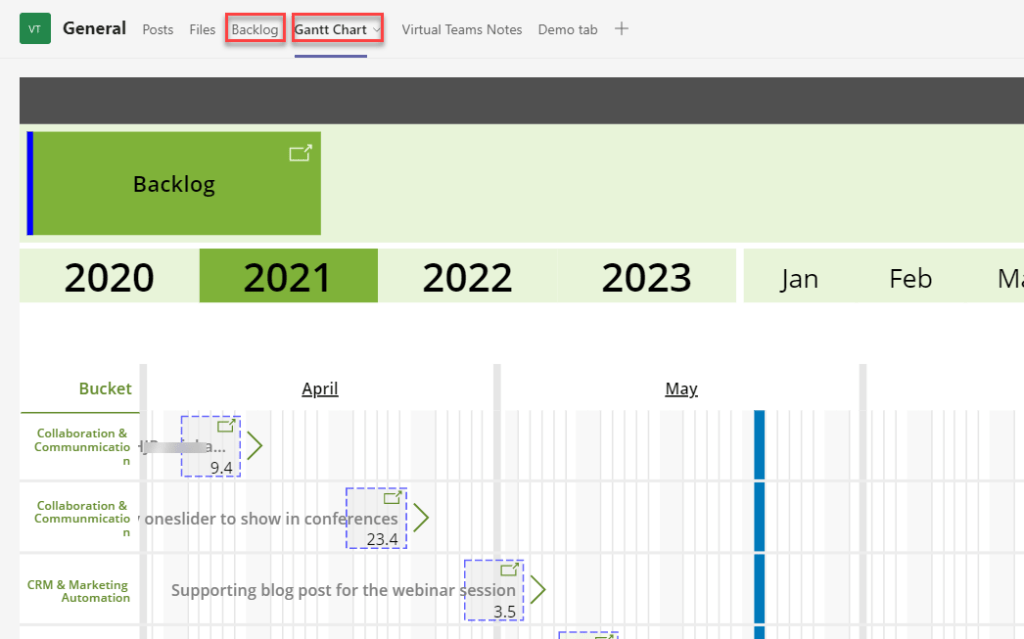
This is quite handy feature of Planner Gantt Chart! For example, in one of my collaboration team’s Teams channels I have both Planner tab (named Backlog in the screenshot) and Gantt Chart tab available allowing the user to choose whichever method to explore the selected plan.
Implementation in the Gantt Chart
There are a couple of places I needed to tweak to get this working in my Power Apps implementation.
Home screen (scrPlans) OnVisible
If(
    !IsBlank(Param("plan")),
    Select(btnHiddenToProcessPreselectedPlan)
)
The code block above checks whether an URL parameter plan is present. If it is, a Button called btnHiddenToProcessPreselectedPlan is selected with a Select function.
btnHiddenToProcessPreselectedPlan OnSelect
Navigate(scrGantt, ScreenTransition.Fade, {
    selectedPlans: Filter(Planner.ListMyPlansV2().value, id = Param("plan"))
 })
Clicking (or selecting) this hidden button takes user to the scrGantt screen providing it with a collection of “selected plans” containing only on plan – the one having a matching id with the plan parameter.
iconBack Visible
IsBlank(Param("plan"))User is allowed to browse back to the home screen only if no preselected plan is given, therefore we want to show the back button only if the plan parameter is blank.

2 Comments