As announced in an earlier blog post I have open-sourced Planner Gantt Chart to make it easier for everyone to participate in development of this awesome app 🤗. In this blog post I’ll provide step-by-step example of how to contribute!
Prerequisites
- GitHub account. If you don’t, go ahead and sign up!
- Familiarity with basic Git concepts, such as repository, commit, fork and pull request.
- Experience in authoring Power Apps canvas apps.
Step 1: Fork my repository
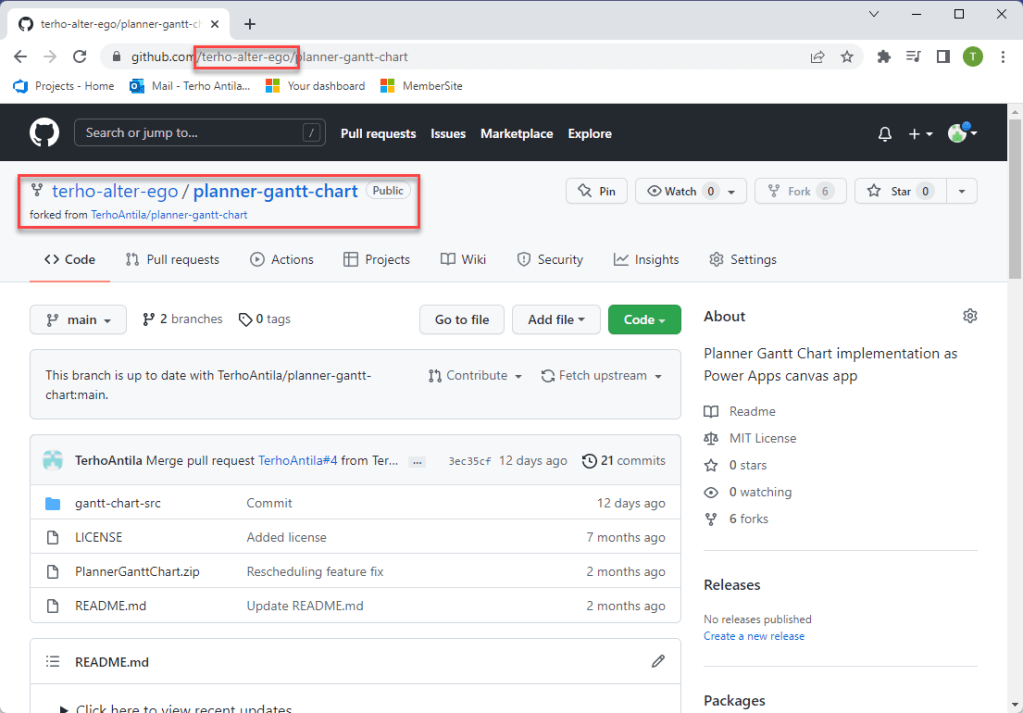
Browse to my planner-gantt-chart repository and fork it.

Now the repository is copied under your account. Note that it is public – as the original one – and accessible to anyone.
Step 2: Create PAT token
To access your repository via canvas git integration, you need a username and a Personal Access Token (PAT token). To create a PAT token in GitHub, follow these steps:
- Go to settings

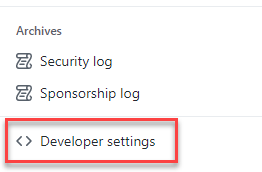
- Choose Developer setting from the very bottom of the left-hand side navigation bar
- Choose Personal access tokens ➡️ Generate new token

- Enter your GitHub password when prompted
- Fill in Note and Expiration field to your liking and select at least repo scope
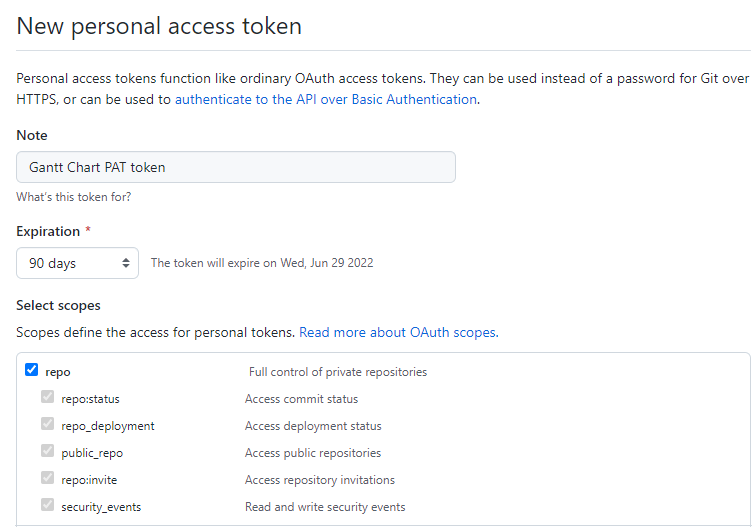
- Click Generate token
Make sure to copy and store the token in a secure location, as this is the last time you will see it in GitHub!

Step 3: Create a new canvas app and connect it to GitHub
Now it’s time to create a new canvas app and connect it to the repository!
- Go to https://make.powerapps.com/ ➡️ Apps
- Choose Canvas from the New app menu

- Give the app any name you like and make sure Tablet format is selected. Click Create
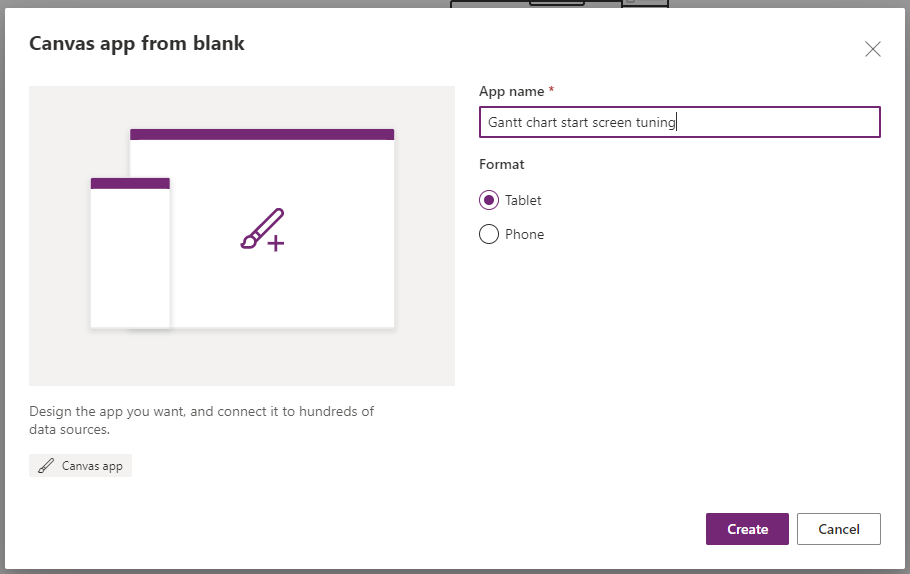
You have created a blank tablet form-factor canvas app. Now it’s time to connect it to your repository.
First, we need to enable Git version control settings. Follow these steps:
- File ➡️ Settings ➡️ Upcoming features ➡️ Experimental
- Turn on Show the Git version control setting
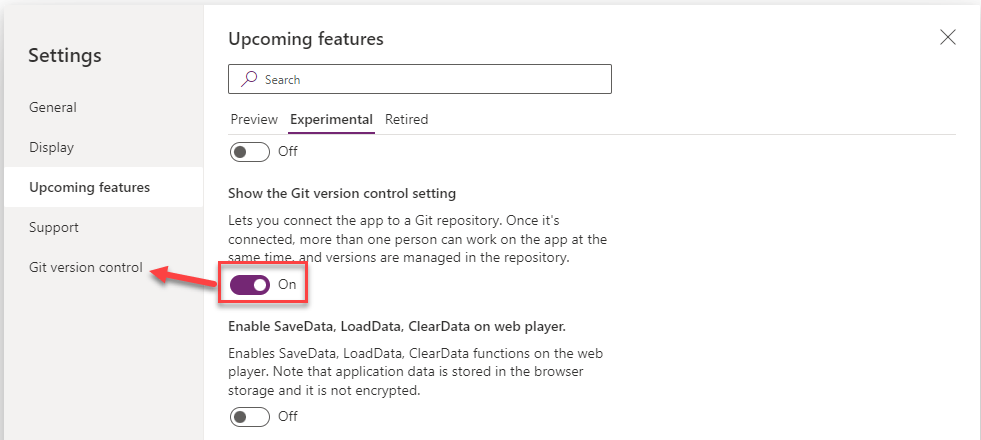
Click on the new menu item Git version control and click Connect.
Provide your repository URL, desired branch, and directory name. If you forked my repository, you should have a dev branch available and app source code is located in gantt-chart-src directory. The only thing you should have differently from the picture below is the Git repository URL field.
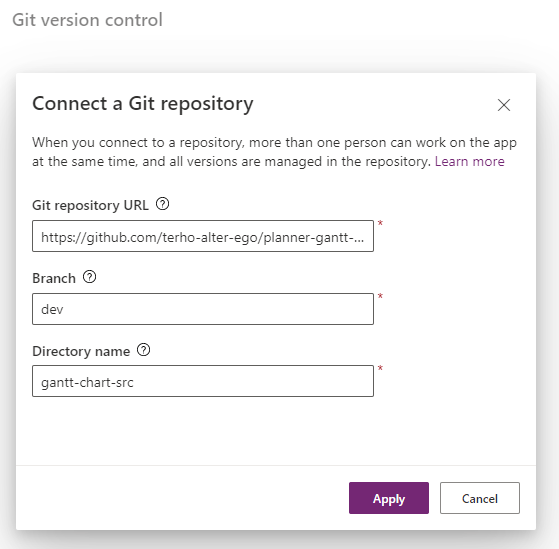
(Note: You can create another branch from the dev branch, if you wish.)
Once you’re done filling in the required fields, click Apply.
Provide your username and the PAT token as the password when prompted.
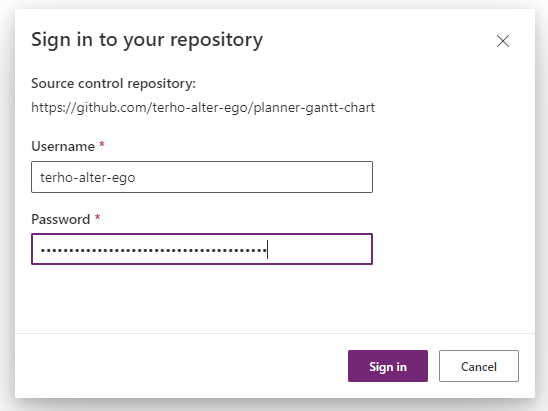
Click Sign in and you’re all set. You should now have a working version of the Planner Gantt Chart app in you maker studio ready for your cool features to be implemented!
Step 4: Make the desired modifications
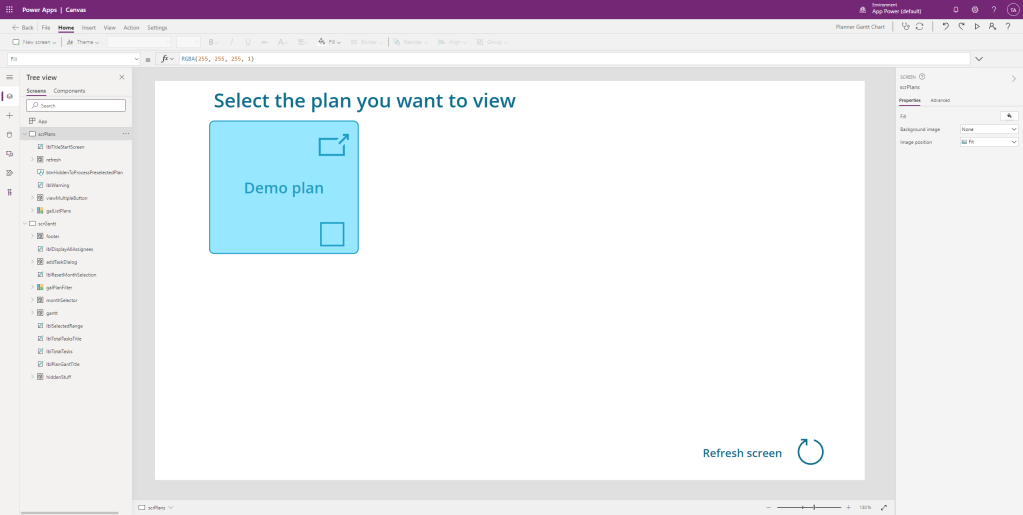
I am simply changing the start screen title to something a little more stylish…
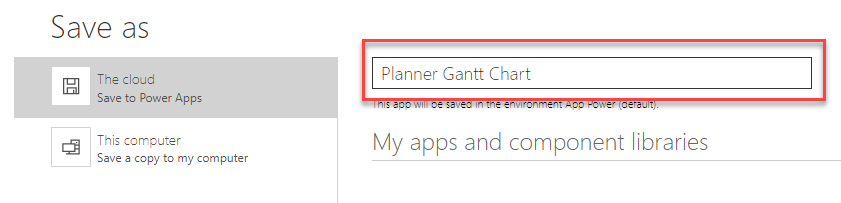
Note that when you are doing the initial saving, the app name is picked up from the source code files. You should use the default name provided unless you want purposefully change the app name.
During the initial saving nothing gets committed to the git repository. After you make another change to the app and then save the app, git integration kicks in.
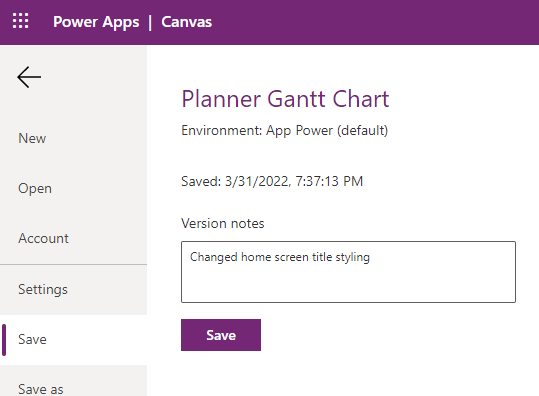
When you save your version of the app, you should provide meaningful and descriptive Version notes as it will be used as the commit message in git.
➡️
Step 5: Create a pull request
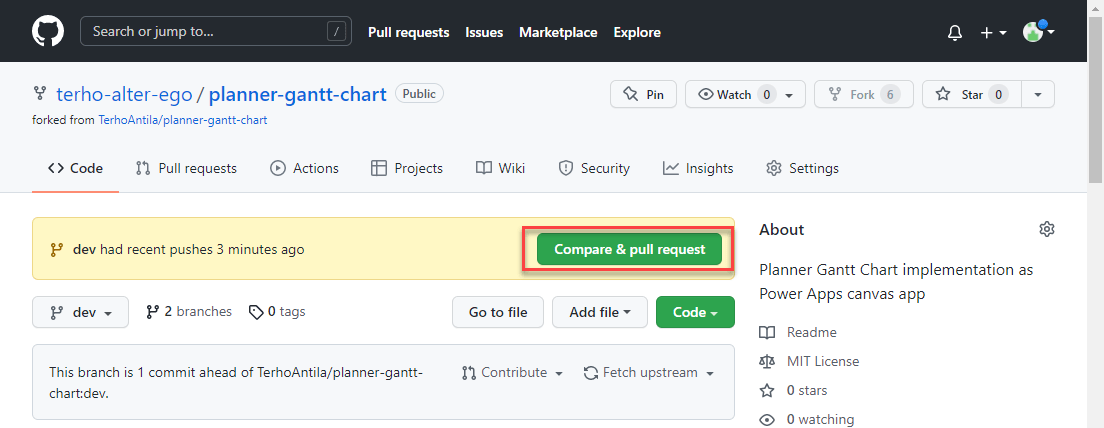
Once you are happy with the changes or new features implemented in your version of the app, you can create a pull request.
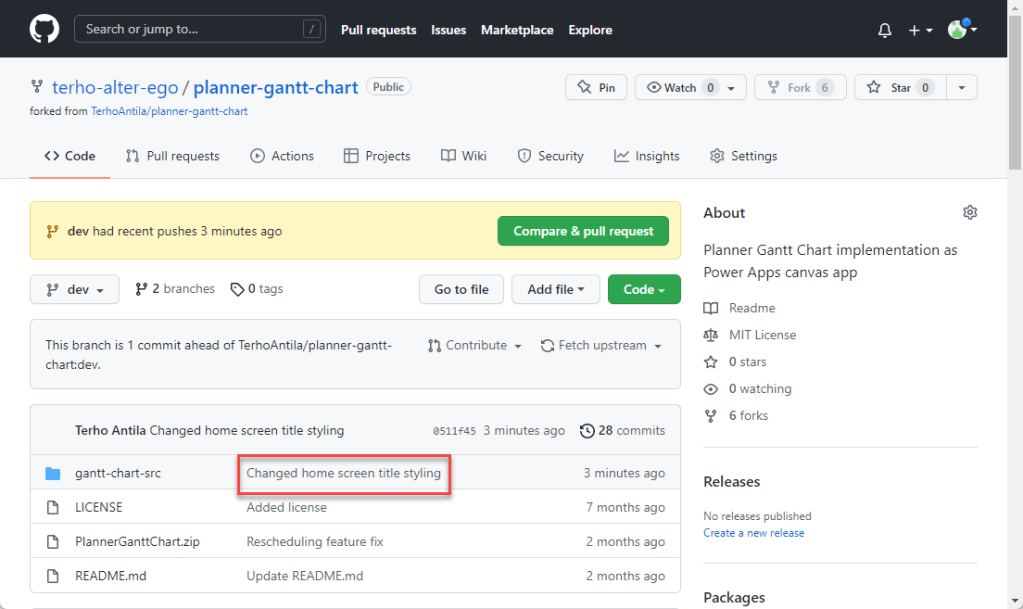
Click on the Compare & pull request button.

You are now transferred over to my repository to complete the pull request.

Make sure you are targeting my dev branch and that your source branch is correct. You might also want to leave a message where you describe the changes made and perhaps the motivation behind it 🙂.
There are multiple changes outlined in the pull request. With the minor change in the home screen title, I managed to cause a change to eight files with 79 additions and 64 deletions 🥳. Most of the changes are targeted at various JSON files and hopefully you should not worry about those 😅. The interesting part is the changed YAML file, which in my case pretty nicely points out the actual changes I’ve made to the app:

When you are happy with the information provided, you can click on the Create pull request button to effectively create the pull request.
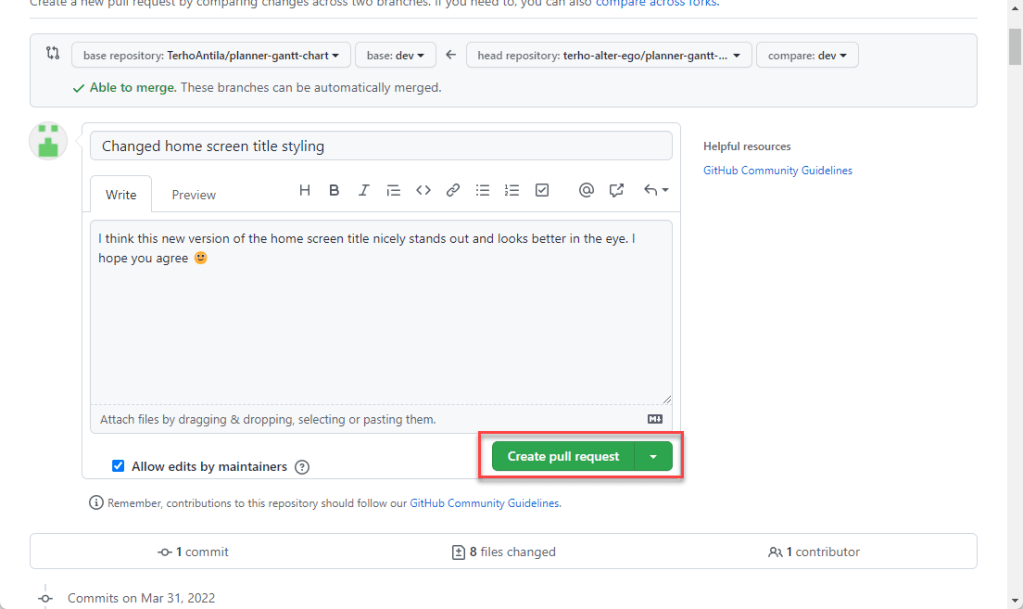
Please also note the meaning of the Allow edits by maintainers checkbox which is checked by default.

That’s it! Now the pull request is submitted, and it is up to me whether your cool editions end up in the latest version of the app.
If you have second thoughts, you can cancel the pull request by clicking the Close pull request button.
What happens next?
You have now done your part and it’s time for me to do mine.
I received a notification triggered by the pull request, such as below:

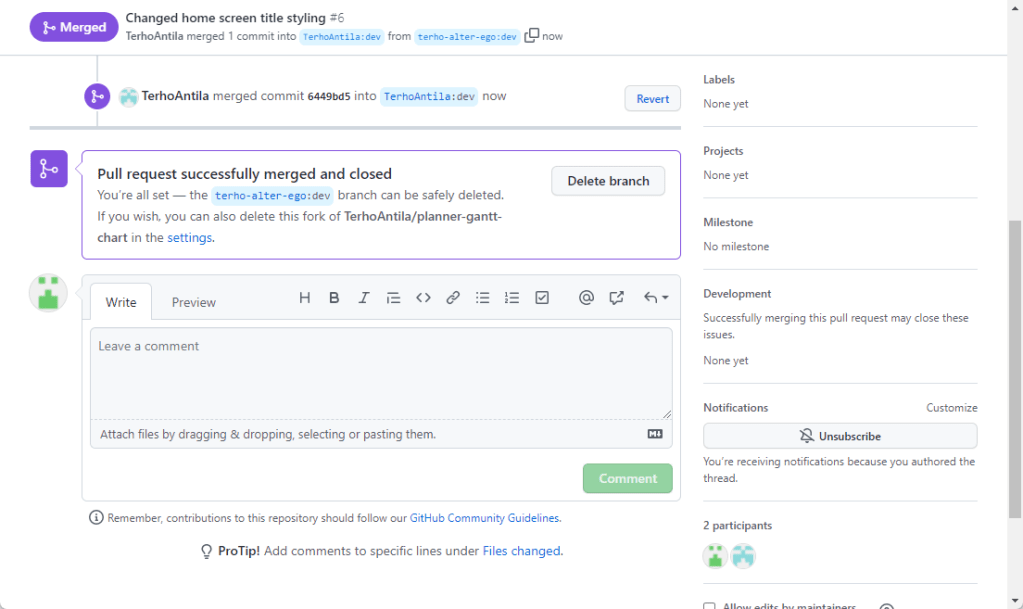
The link takes me to a view like this:

I can now Merge the pull request directly to my dev branch or I can check out the pull request onto a temporary branch to test it out via canvas studio first. This time I boldly decided to merge the pull request 😬
You will get informed via e-mail and GitHub page of the successful merge.
Now, when I open my version of the app for editing, I can see the merged changes in the app.

Thank you for your contributions!
