
I was implementing some new features into the Planner Gantt Chart app I’ve originally published almost year ago. The feature I was working on was a capability for the user to drag and drop tasks on the Gantt chart back and forth in the timeline. This led me thinking that perhaps this technique is something you can use in your canvas apps as well.
Let’s do this step-by-step!
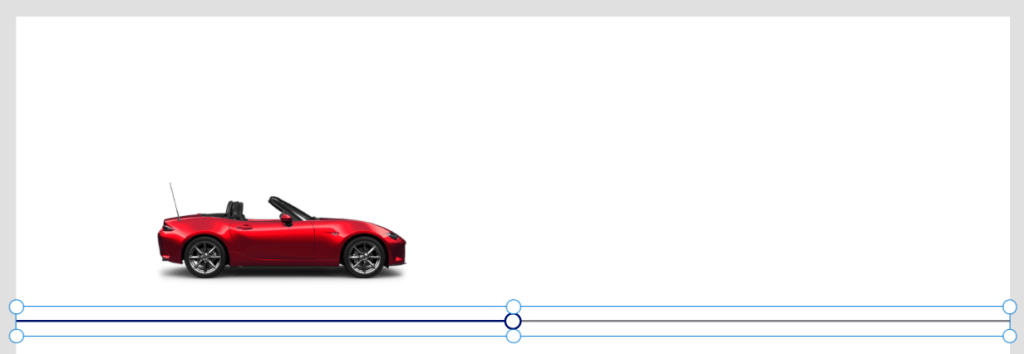
Add target object on the canvas
I looked up an image of a car and added it to the canvas. This will be the object that I’ll be dragging back and forth.

Add slider to enable dragging
There is now actual drag and drop functionality in Power Apps canvas app without taking advantage of some cool PCF controls, such as Scott Durow’s CanvasDnD. Truth is, I’m not a huge fan of PCF, so I wanted to challenge the pure canvas capabilities and see if I could use the good old Slider control to simulate drag and drop functionality.
So, go ahead and drop a Slider control on the canvas. For now, position it below your target object and make the width the full width of the screen.
Configure the slider
Our aim is to have the car move horizontally based on the slider value. For this, let’s make the following property updates on the slider control:
Max: Screen1.Width
Default: Screen1.Width / 2
ShowValue: false
Update target object’s X to follow the slider value
Simply update your target object’s X property value to:
Slider1.Value - imgCar.Width / 2
Now your target object’s horizontal position follows nicely the slider value.
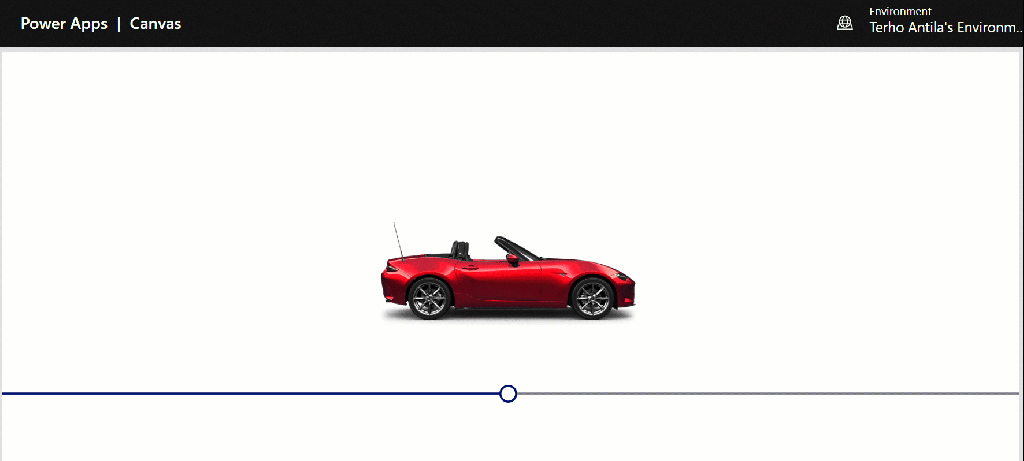
Make slider “invisible”
The final step in this simple example is to move the slider on top of the car and make it invisible, so that the user thinks he’s dragging the car and not the slider handle.
First, move the slider vertically on top of the car.
Next, hide the slider by adjusting the following colors to fully transparent (simply set the fourth parameter in RGBA to zero):
- BorderColor
- HandleFill
- PressedBorderColor
- RailFill
- ValueFill
Adjust handle size to cover the entire object
Set the following properties so that the hotspot to use for dragging pretty much covers the entire draggable object:
HandleSize: imgCar.Height
Height: imgCar.Height
And that’s it, now you have a draggable object you can move around horizontally!

A step further
Once you understand the technique introduced earlier, you can take things a bit further by introducing a vertical drag and drop as well. I’ll leave this puzzle for you to solve, but here are some tips:
- You need to use two sliders, so it might be a good idea to leave the handles visible
- Since you have two sliders, the X value of the vertical slider is dependent on the value of the horizontal slider and vice versa, the Y value of the horizontal slider is dependent on the value of the vertical slider

Real world example
As mentioned in the beginning, I’ve applied this technique in my Planner Gantt Chart app. See it in action below or download your own version by following the links provided in my original Gantt Chart blog post.


1 Comment