Power Platform is great! You can easily create compelling apps and automation flows to supercharge your daily routines and you can even share the apps with your co-workers. But what happens when some applications get more and more popular, and eventually employees start getting dependent on them to accomplish their tasks smoothly? Well, that depends on your company’s Power Platform governance, but most likely maintenance of these apps will be shifted from the original creator to under the warm care of the IT department.
And that’s when DevOps joins the game!
One crucial part of DevOps – regardless of the platform technology – is how to package and deploy the solution between various environments. Usually, you have at least three of them: one for development, one for testing, and one for production. Power Platform is no exception: you should have separate dev, test, and prod environments for your solution. Of course, it’s up to your company’s own policies whether you’ll have separate environments for each solution, or should you have one company-wide environment for test and one for prod; or something in between (departmental environments for example).
But this blog post is not about environment strategy. This is about how you can automate the deployment of Power Platform solutions from one environment to another! And as you’ll learn, it’s not that complicated at all 🙂
One big part of DevOps is also version control, and how to enable developers to follow various branching strategies, code merge, etc. I will not write about that in this post either, I’ll focus on that in a later post.
Let’s do it!
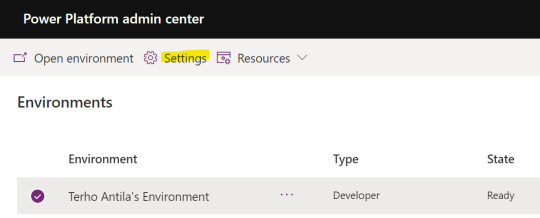
For the sake of simplicity I now have two environments:
- Our company’s default environment called Cloudriven Oy (default). This environment acts as a development environment for the purpose of this blog post.
- My personal development environment called Terho Antila’s Environment – this the “test” environment and target for solution package deployments.
The aim of this blog post is to set up a working Azure DevOps Pipeline to automate the deployment of a Power Platform Solution package from the development environment to the test environment. So, basically, what the pipeline needs to do:
- Update solution package version number in the development environment
- Export the solution from the development environment
- Import the solution to the test environment
As it turns out, creating the actual pipeline is quite trivial – it’s the preparations needed upfront that takes most of the time.
To prepare your environments for the Azure DevOps Pipelines, for each Power Platform environment, you need to create a service principal and associate a Power Platform application user to it.
Create a service principal (SP) in Azure Active Directory
I used a ready-made PowerShell script by following the steps described here: https://docs.microsoft.com/en-us/power-platform/alm/devops-build-tools.
Some notes:
- You could use the same service principal for all environments, but it is a best practice to have separate for each – this way you don’t have to grant permissions for the SP used in the dev to the test environment (and vice versa)
- The user used to log in when running the script must have Power Platform admin or Dynamics 365 admin roles defined via Microsoft 365 admin center
- As a result, you should have application id and client secret for both app registrations – take note of these as you’ll need them later along with the tenant id
- Rename the app registration if you wish as the default naming the PowerShell script uses is not very practical. I renamed my SP’s as Cloudriven Power Platform DevOps DEV andPower Platform DevOps TEST

Create Application User
I followed the instructions given here. In short:
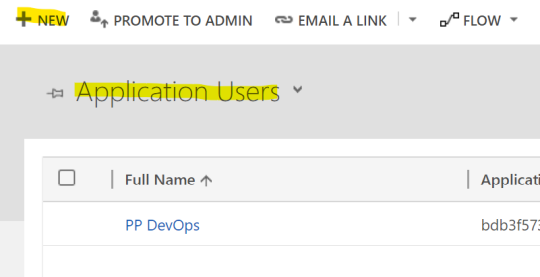
In your Power Platform admin center, go to the environment’s settings.
Under Users + permissions, select Users > Manager users in Dynamics 365. Now you’re able to filter the user list by the type of user. Select Application Users as the filter and then click NEW.
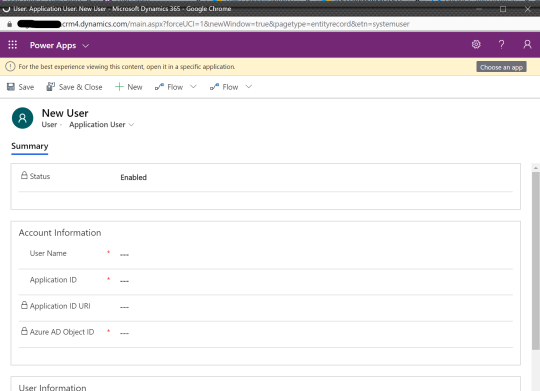
You’re now presented with the below screen. You can enter any user name you like that doesn’t yet exist, I used PP DevOps for both environments. After entering the required Application ID, First Name, Last Name, and Primary Email and hitting the Save, you should have Application ID URI and Azure AD Object ID auto-filled.
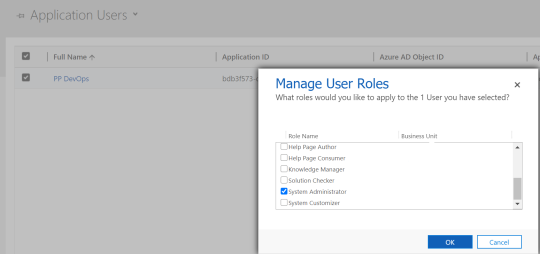
Finally, assign the application user a System Administrator role in the environment.
Now you have two SP’s created in Azure AD and an Application User in each environment that are associated with the appropriate SP. Next, it’s time to create service connections in Azure DevOps using the service principals created in Azure AD!
Create service connections in Azure DevOps
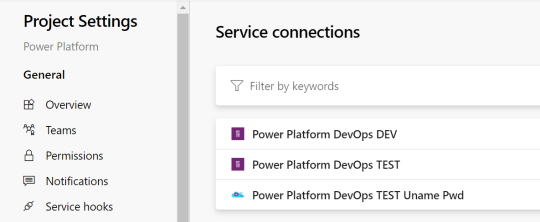
Normally, we would need two service connections created in Azure DevOps: one for accessing dev Power Platform environment and one for accessing test. But due to a bug in Power Platform Import Solution task, we need to use a username + password based service connection for that.
Before creating the service connections, you should install the latest version of Power Platform Build Tools by Microsoft extension in your Azure DevOps tenant. The version I used is 1.0.8.
After the installation, you will have Power Platform as a service connection type when creating a new connection.
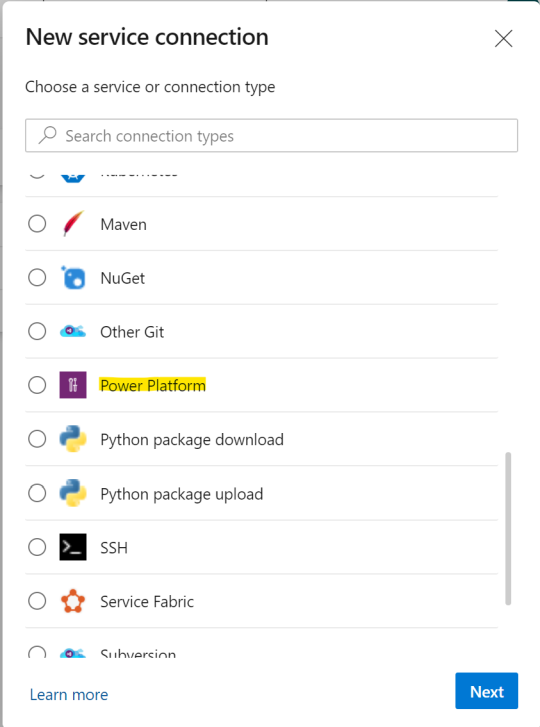
You can use that for the service principal based service connections. However, for username + password based connection you need to use the Generic type.
So, I ended up creating three service connections: one for each environment and an additional one for the target (test) environment.
Now we’re all set up to create our first Azure DevOps pipeline to deploy solutions from the development environment to the test environment!
Create a pipeline
I created a below pipeline. Screenshot of its latest run with the duration of each task is displayed below. I’ll explain each step shortly.
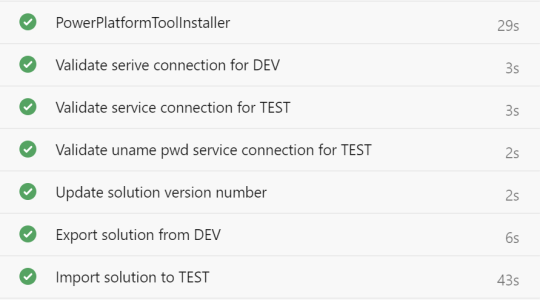
Power Platform Tool Installer installs necessary PowerShell tooling on the build server.
The three connection validation tasks all use Power Platform Who Am I task to test the service connection. The task outputs some information regarding the target environment, such as organization id, environment name, and version of CDS.
Update solution version number uses Power Platform Set Solution Version to update the solution package version. The version number is calculated like this:

After updating the version numer, I export the solution from the development environment using Power Platform Export Solution task and import it to test using Power Platform Import Solution task.
Remember: use the username + password based service connection when doing the import – otherwise Power Apps within your solution package will not get imported!
That’s it, now you’re all set up with your automated deployment pipeline!
