Very exciting new feature of Microsoft Power Platform is Power Virtual Agents. According to documentation, it “…
empowers teams to easily create powerful bots using a guided, no-code graphical interface…”
How easily exactly? Let’s find out!
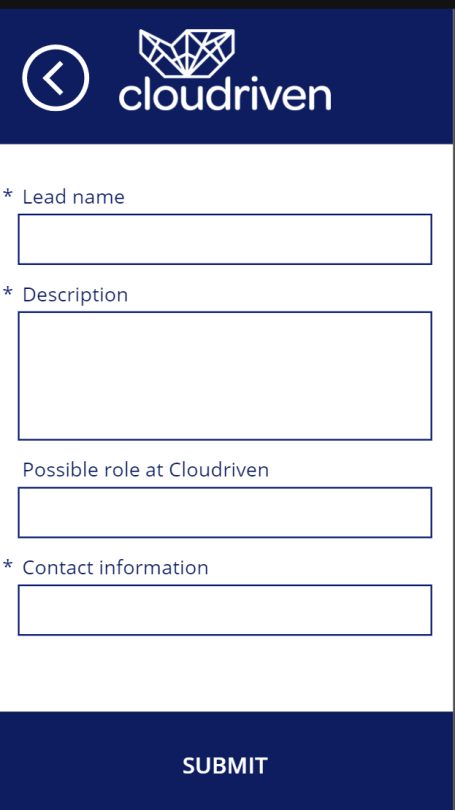
Use case: Last week I implemented probably one of the simplest Power Apps in the world – Cloudriven’s Recruitment Lead App. Users are able to send new recruitment leads with contact information via this app. Below is a screenshot of the version 0.5 of the app’s input form.
Now, with Power Virtual Agents, I would like to enable our employees with yet another channel to send new recruitment leads. After all, we want to encourage employees to send as many leads as possible, so I’d suppose more ways of doing that means more leads, right?
So, let’s start hacking!
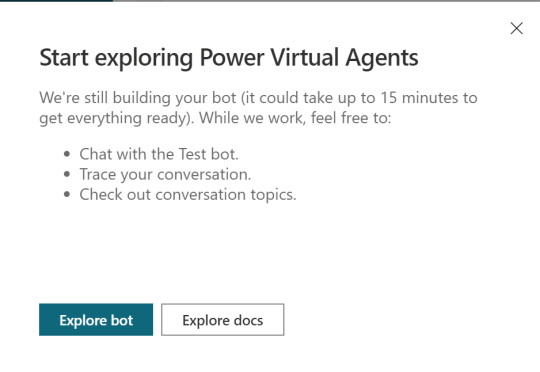
Step #1: Sign in to Power Virtual Agents portal by navigating to https://powerva.microsoft.com/. You’re immediately prompted to enter the name of you first bot. I’ll be using bot called Recruitment Lead Handler.

And please be aware that creation of the bot might take some time… For me it took a couple of minutes.
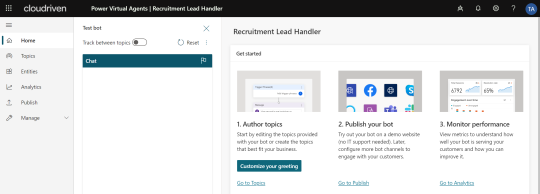
Once your bot is set up, you are presented with a screen similar to below.
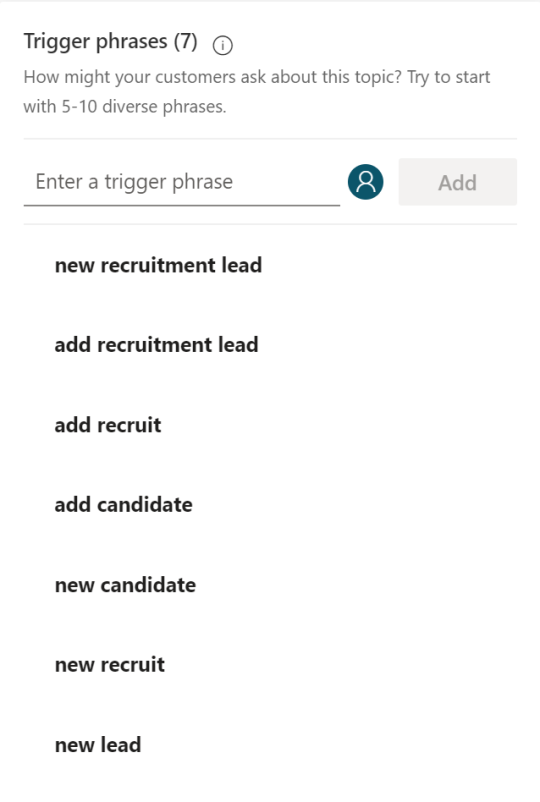
Step #2: Create a new Topic for your business need. I created a Topic named Add new recruitment lead. I also added a few trigger phrases:
Step #3: It’s time to author the conversation flow. Click on the Go to authoring canvas button!
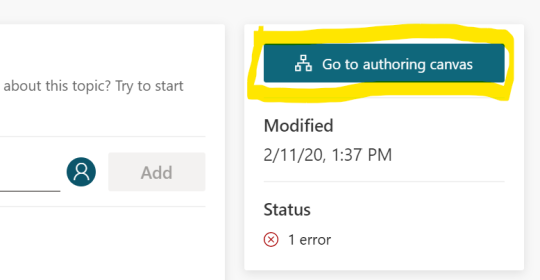
You are presented with a view like this:
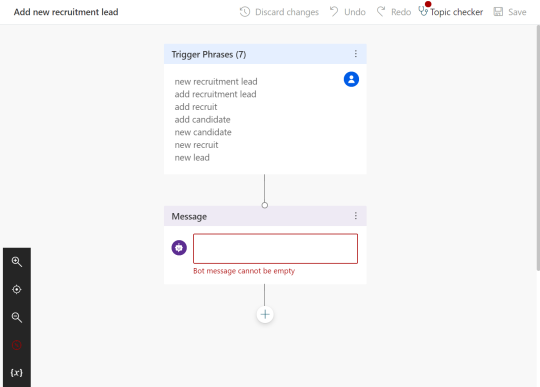
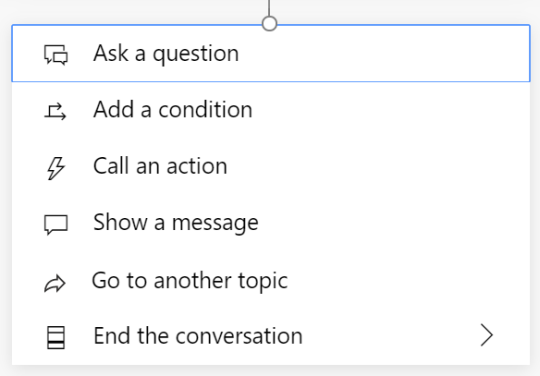
Type in any welcome message you like. After the greeting message, you should probably ask something. You can add different nodes to the conversation – one of which is called Ask a question.
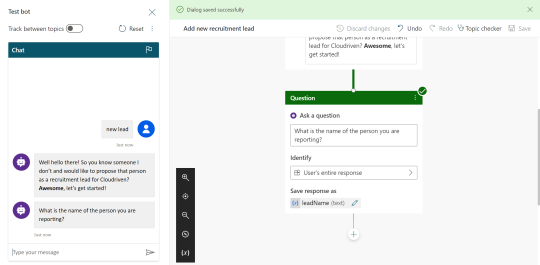
I wanted to start interacting with the user by asking the lead’s name.
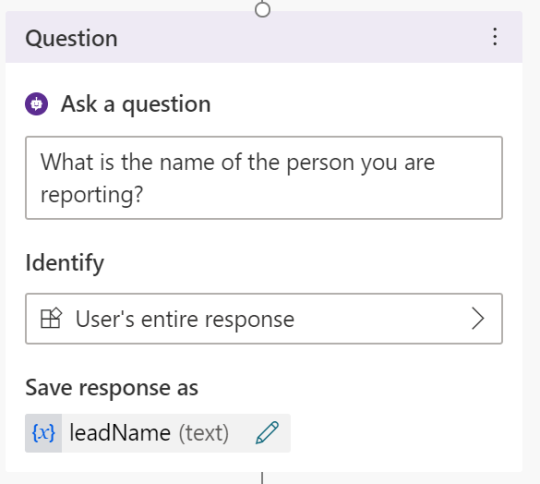
For each question you can define the question text and set what type of answer is expected. I chose to use User’s entire response, which means that I get to collect all the text user types in reponse to this question. You can also define the name of the variable where the user response is stored. I’m using leadName variable name here.
At any time you can save the conversation flow and test the bot with tha chat panel on the left. While testing, you can follow/debug the process on the right. The experience is really nice!
Step #4: Eventually you want to do something with the data collected from the user. In my case I want to save the new recruitment lead information into a SharePoint list. To enable this, I did the following:
- Add Call an action node
- Create a flow (launches Power Automate in a new window)
- Edit the flow per your business needs
- Package the flow into a solution (via Power Apps portal Solutions view)
After the above steps you should be able to call the flow via the action node.

Step #5: Finally I wanted to publish the bot to Teams. There’s good documentation found here, which I followed.
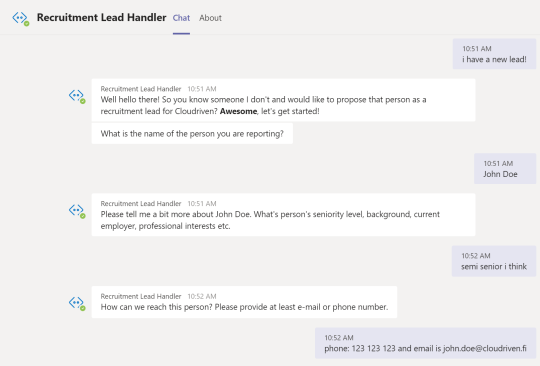
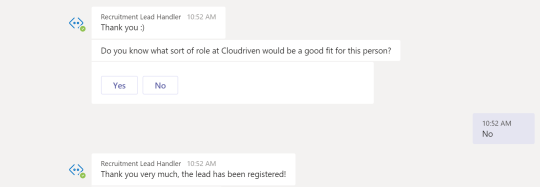
The end result of my bot is below. The experience was very nice and I’d recommend everyone to test Power Virtual Agents out!
[Step #6: Afterwards I also added authentication to the bot dialog so that the list items get created in the context of the user interacting with the bot. The authentication setup was quite easy by following the documentation found here.]
